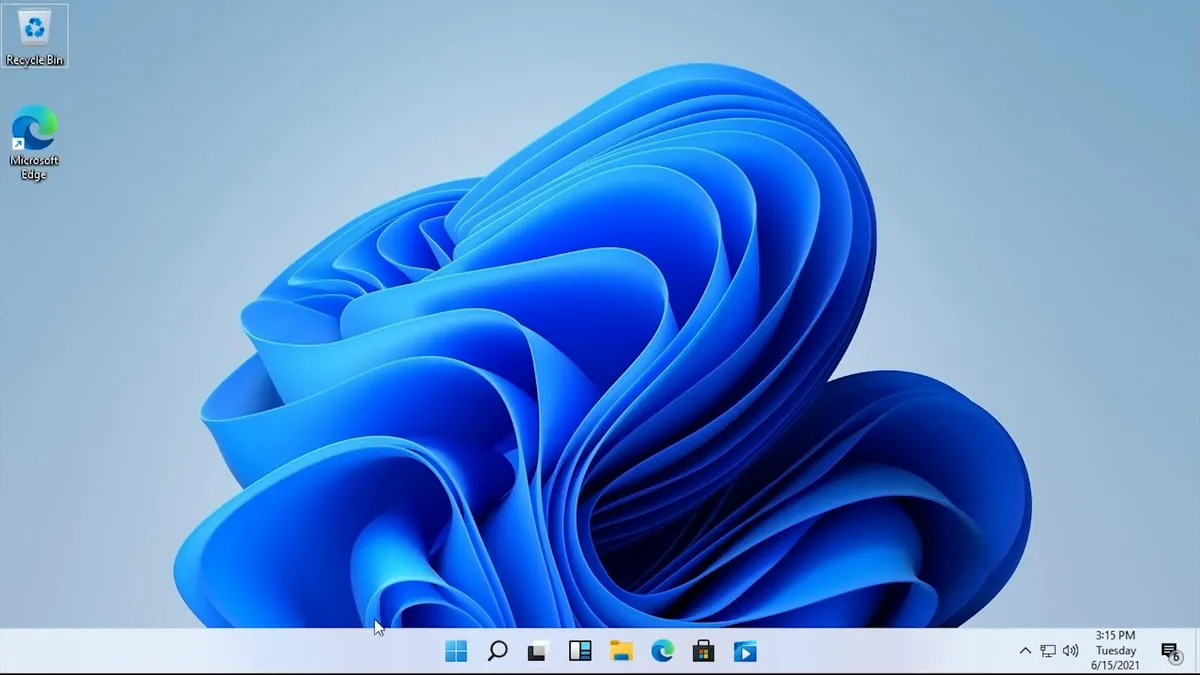
Unbox the laptop and ensure that the charger is plugged in so that the device is charging throughout this process. This can take some time and the battery life may drain. If the laptop dies, you’ll potentially have to begin this process again.
- Choose location & keyboard layout
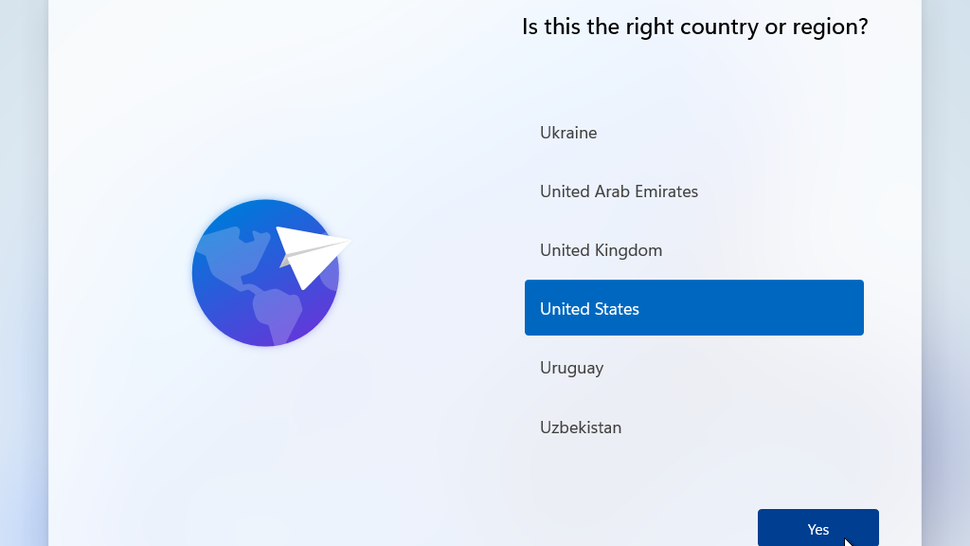
- Select United States from the list and press ENTER or click the Yes button in the bottom right-hand corner.
- The next screen should ask you to select your keyboard layout, choose US Keyboard (default) and press ENTER or click the Yes button to continue.
- Accept Terms and Conditions
- Connect to the internet
- Select the correct Wi-Fi and put in the password if prompted to. If you don’t have internet access where you are trying to set up your new laptop, you won’t be able to continue until you have connected to the internet.
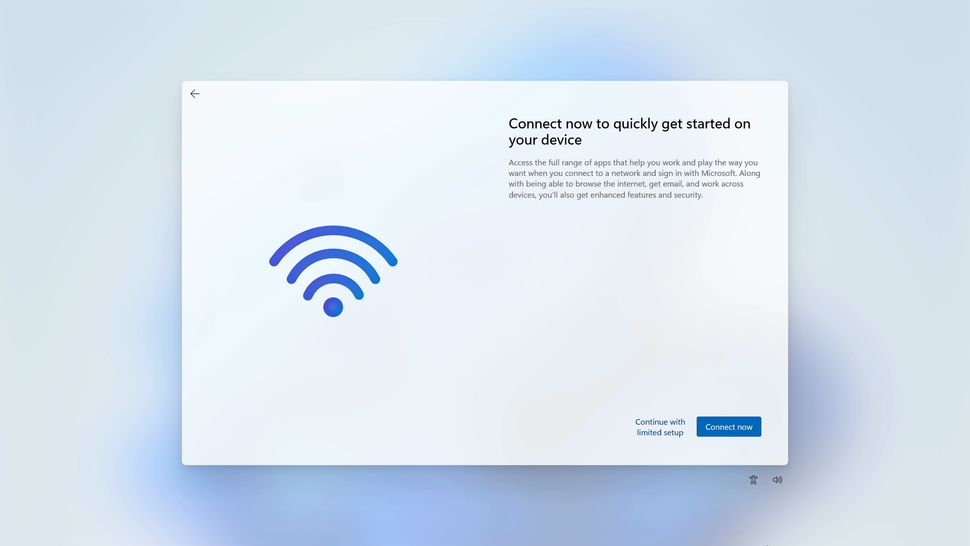
- Select the correct Wi-Fi and put in the password if prompted to. If you don’t have internet access where you are trying to set up your new laptop, you won’t be able to continue until you have connected to the internet.
- Name your laptop
- You will then be prompted to name this new laptop. Leave this blank, and click Skip for now.
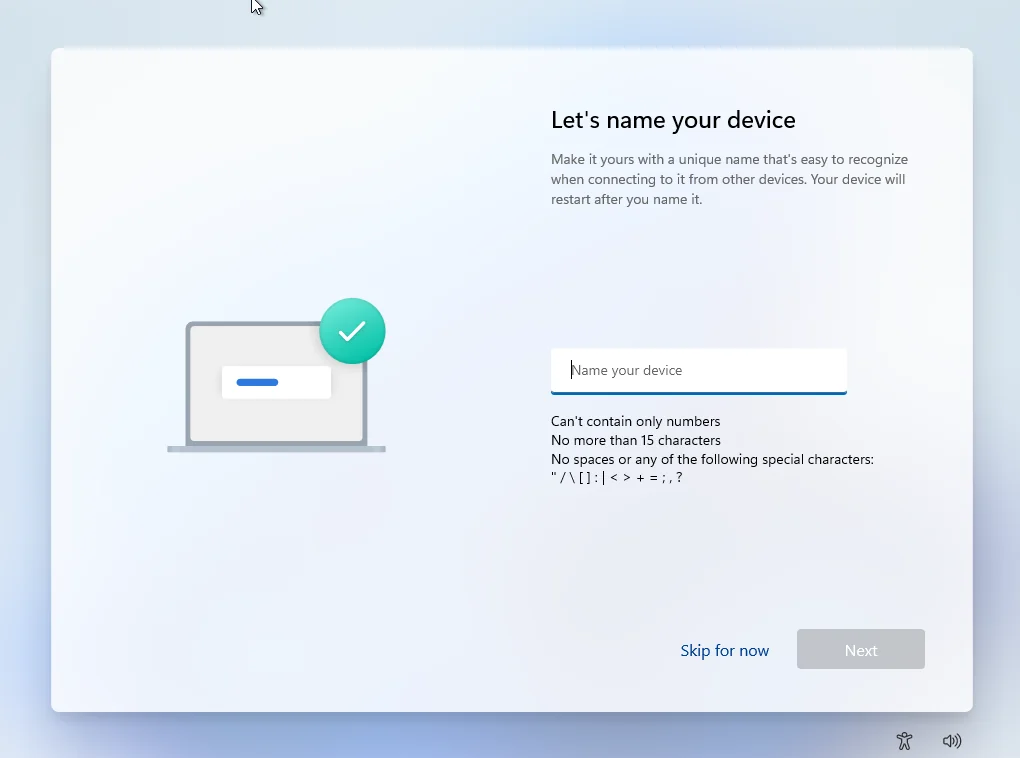
- You will then be prompted to name this new laptop. Leave this blank, and click Skip for now.
- How would you like to set up this device?
- Select Set up for work or school and click Next.
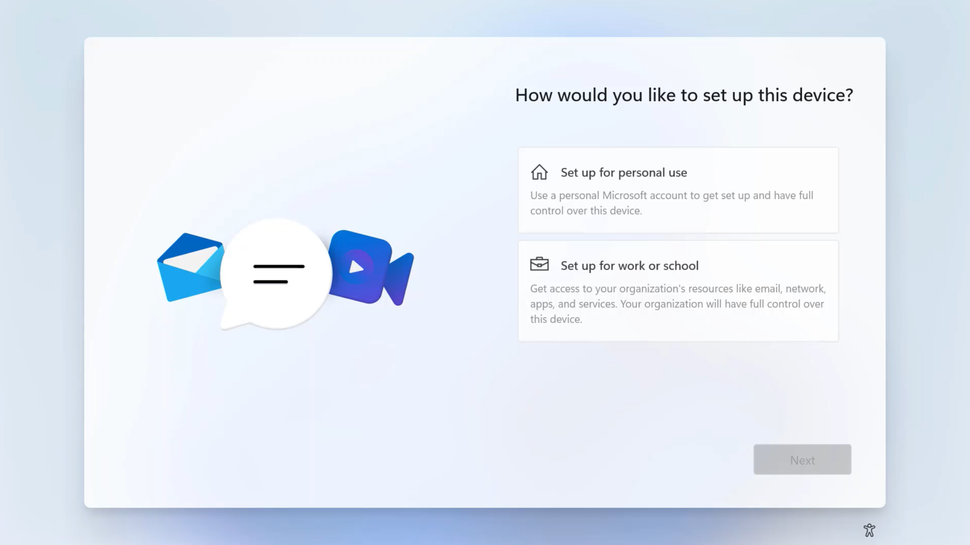
- Select Set up for work or school and click Next.
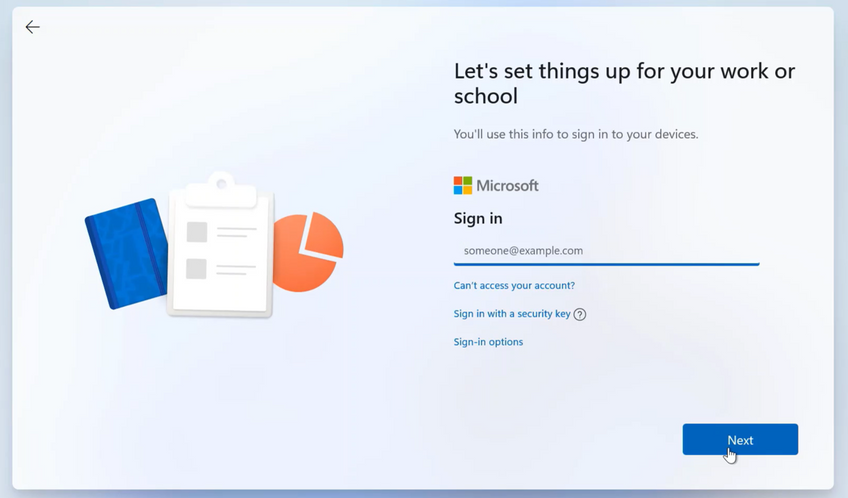
- Let's set things up for your work or school
- Enter the users email address as prompted and then click Next.
- You’ll then need to put in the user's password and click Next again.
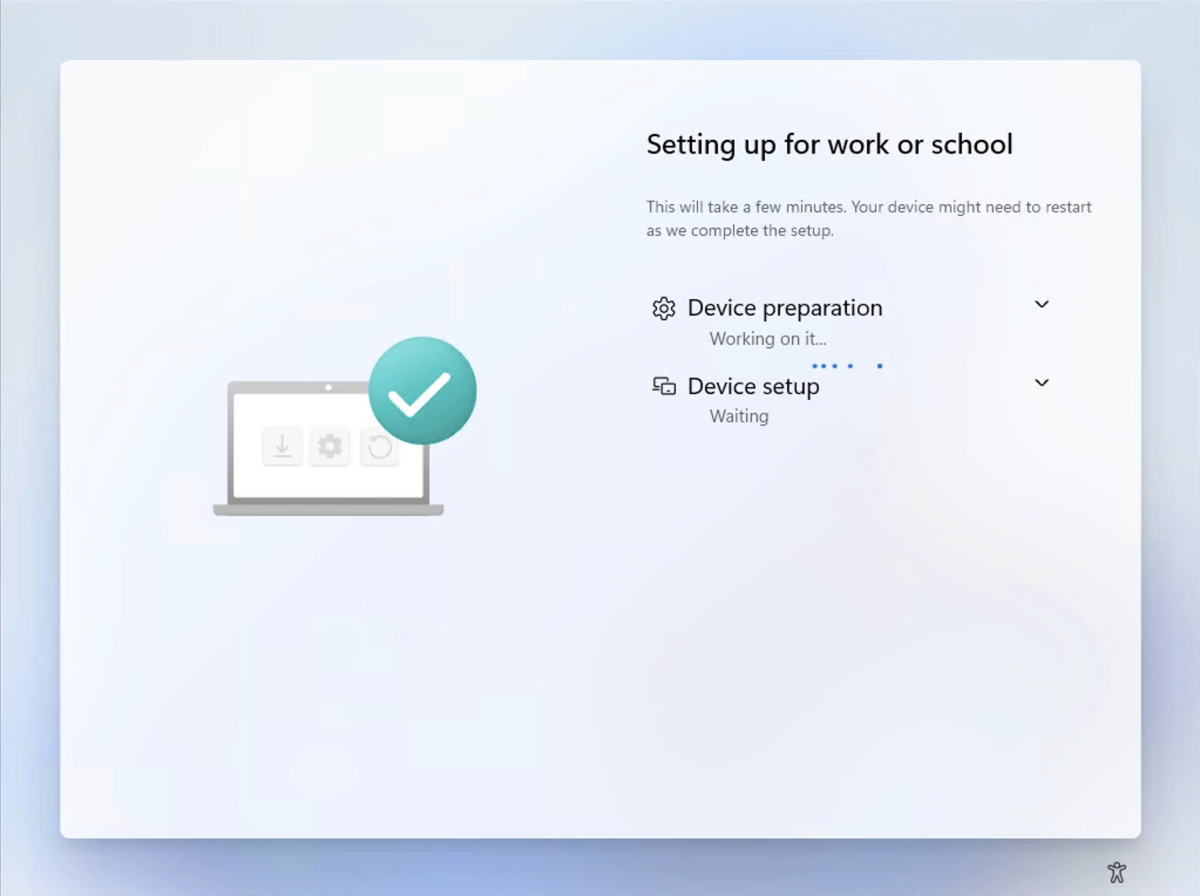
- Setting up for work or school
- This step has 4 stages and everything is done automatically.
- Grab a cup of coffee and come back to it later. It can take up to an hour or so to complete all stages.
- Choose privacy settings for your device
- Leave all defaults enabled and click Next
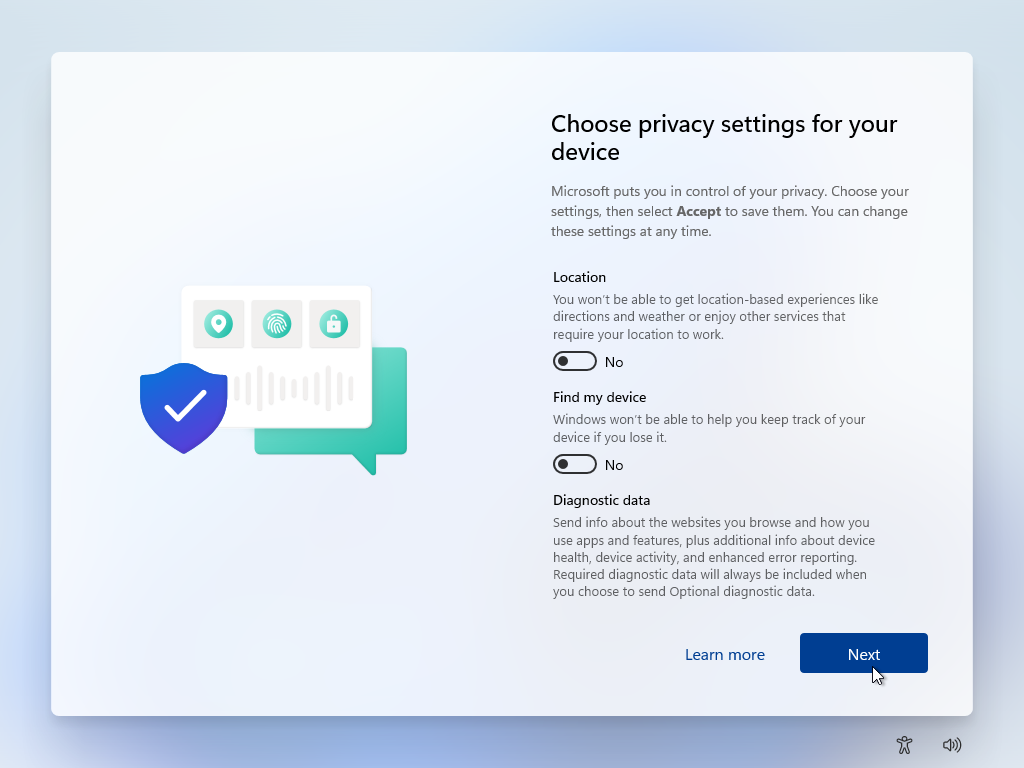
- Leave all defaults enabled and click Next
- Use Windows Hello with your account
- Click OK, and then the X in the upper right corner as we do not have access to the users personal cell phone or email. We will leave this for them to setup. They will be prompted each time they log into Windows until set.
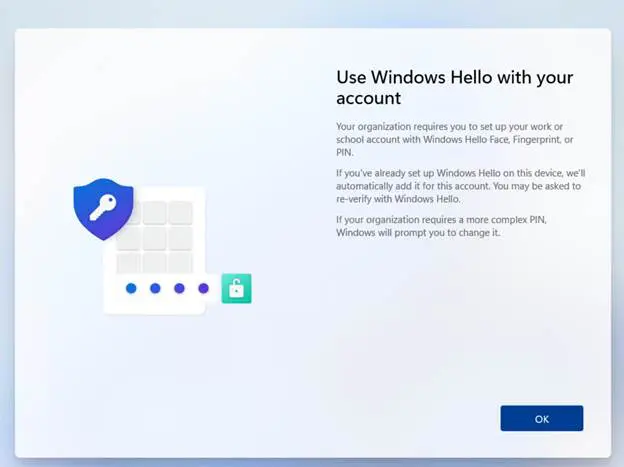
- Click OK, and then the X in the upper right corner as we do not have access to the users personal cell phone or email. We will leave this for them to setup. They will be prompted each time they log into Windows until set.
- Done! You should now be in Windows 11!